For a typical residential roof deck, drive 8d common nails (2-1/2 inches long, 0.131 inch diameter) at 6 inches on center along panel edges and 12 inches on center at intermediate supports. Local code and your wind zone can require tighter spacing or different fasteners.
You may be looking at exposed plywood after a tear-off, wondering whether the old deck needs more nails before the new roof goes on. The nail count matters, but so does what those nails connect: sound panels to solid rafters or trusses.
Nailing roof sheathing isn't the same job as fastening shingles. These connections transfer loads from the deck into the framing, and a neat-looking pattern won't compensate for missed rafters or moisture-weakened wood.
Table of Contents
- Nail Size and Spacing at a Glance
- Telling Reusable Sheathing From Damaged Panels
- Lay Out Panels Before Driving Any Nails
- How to Drive Each Nail Correctly
- Inspect and Fix Nailing Before Shingles Go On
- Code and Manufacturer Rules That Override the Table
Nail Size and Spacing at a Glance
The standard pattern distinguishes panel edges from intermediate supports, often called the field. Edges are the supported boundaries of each sheet; intermediate supports are the framing members beneath the sheet between those boundaries.
For standard applications, the 2024 International Residential Code baseline is 6 inches on center at panel edges and 12 inches at intermediate supports, as described in The Roofing Brief's new-construction roofing guide. On center means measuring from the center of one fastener to the center of the next, not measuring the clear space between nail heads.
Sheathing nail size and spacing by case
IRC Table R602.3(1) identifies the common-nail dimensions, panel-thickness ranges, and typical fastening schedules in the residential rows below. The retrofit row follows FEMA's windstorm-resilience guidance, including its ring-shank example.
| Case | Nail | Edge spacing | Intermediate spacing |
|---|---|---|---|
| Typical residential panel, 3/8 to 1/2 inch thick | 8d common, 2-1/2 inch × 0.131 inch | 6 in o.c. | 12 in o.c. |
| Thicker panel, 19/32 to 3/4 inch | 8d common, 2-1/2 inch × 0.131 inch | 6 in o.c. | 12 in o.c. |
| FEMA wind-resilience retrofit, sheathing at least 7/16 inch | 8d common or ring-shank; ring-shank example is 2-3/8 inch × 0.113 inch | 6 in o.c. | 6 in o.c. |
| High-wind roof edges, ridges and gable ends | 8d common, per applicable code threshold | 4 in o.c. where required | Follow the jurisdiction's approved wind schedule |
The thicker-panel row doesn't automatically call for a wider pattern. The retrofit row tightens the field fastening, while the high-wind row requires checking the specific roof zones and approved schedule rather than guessing from the general table.
Don't choose a nail by length alone. Value Tools Co.’s guide to 2 inch nails for trim projects is useful for distinguishing finish-work applications from structural fastening; a trim fastener isn't a substitute for an approved sheathing nail.
Practical rule: More nails aren't automatically better. Each nail still needs the specified diameter, length, penetration, and location.
Before buying fasteners, measure panel thickness at an exposed edge, ask the building department which wind provisions apply, and check the panel manufacturer's instructions. Also read the nail carton: a nominal penny designation doesn't establish every dimension or approval.
Telling Reusable Sheathing From Damaged Panels
A roof connection depends on more than the nail count. Moisture-weakened sheathing can let a nail pull through even when the fastening pattern looks correct on paper. A panel may still feel firm underfoot while the wood around its nail holes has lost strength.
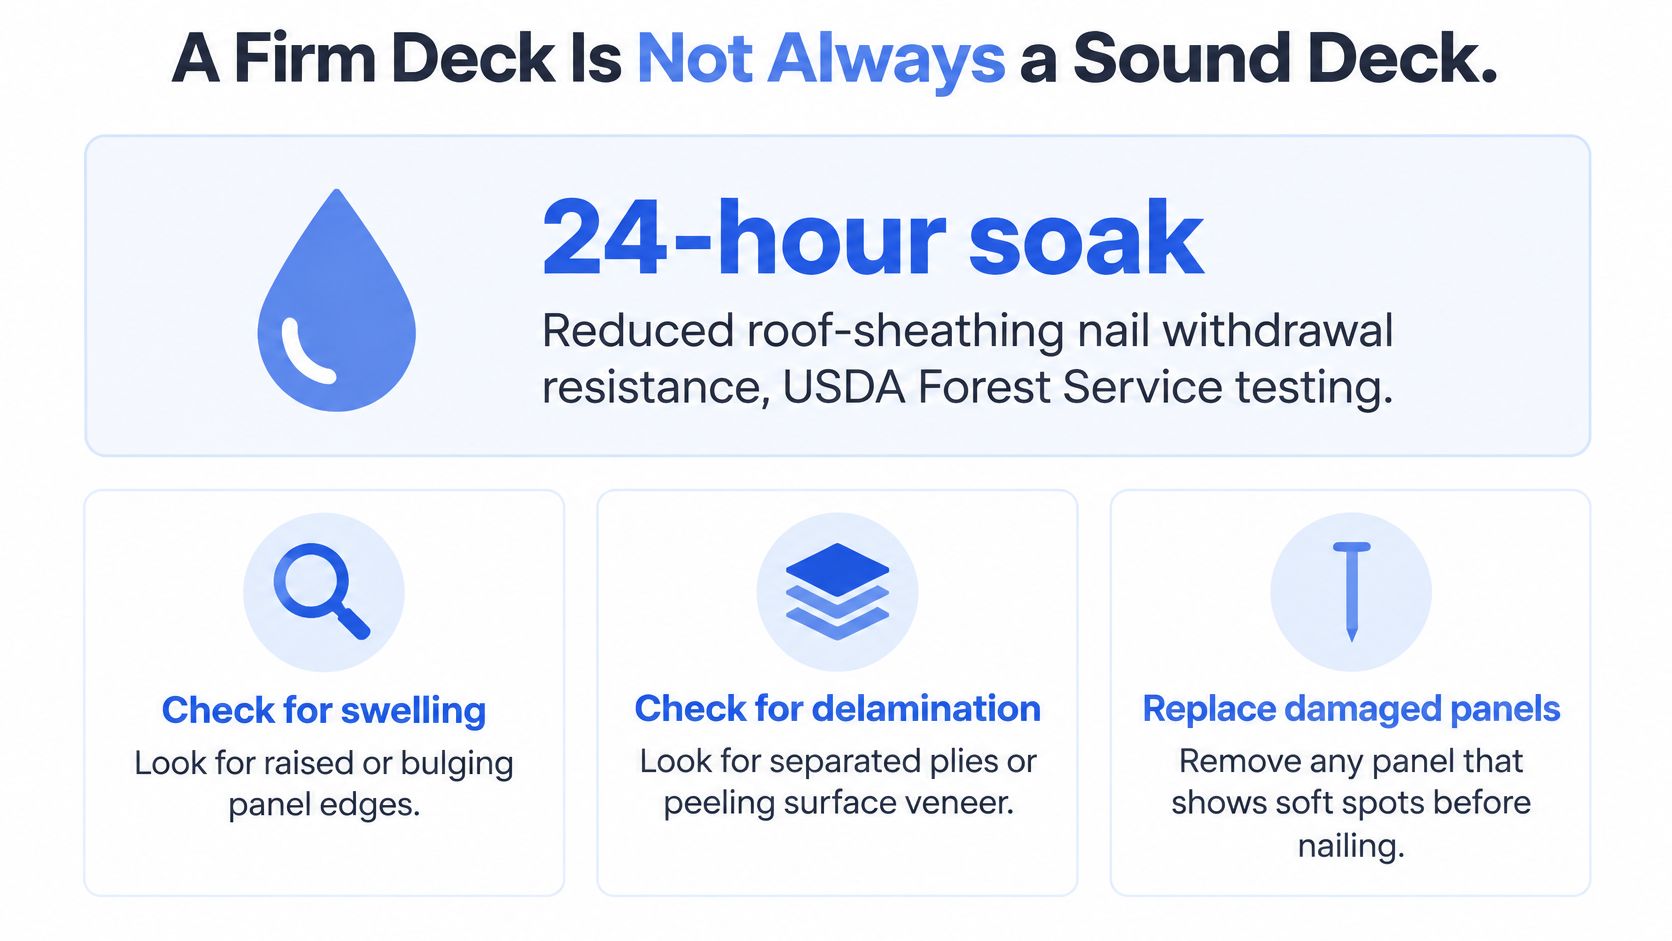
In USDA Forest Service testing, a 24-hour soak reduced roof-sheathing nail withdrawal resistance by about 30%, and accelerated aging reduced it by about 40%. Staple withdrawal losses reached as high as 55% in one exposure. Nail heads can also pull through when damage forms beneath them or condensation collects around the shanks.
Inspect the wood around the connection
Withdrawal is when the nail shank pulls out of the wood. Head pull-through is when the panel pulls over the nail head. These are different failures. A stronger-shank nail won't repair a panel surface that can no longer bear against the head.
Check exposed edges for swelling, plywood plies for separation, and old fastening lines for crumbling or enlarged holes. Where accessible, inspect the underside for recurring dampness and compare questionable areas with sound wood.
Staining alone does not mean a panel must be replaced. Persistent moisture, crushed nail holes, soft areas, or too little sound wood for the required nail penetration call for more caution than a dry stain.
Sheathing condition and the decision it calls for
| Condition | What it usually means | Decision |
|---|---|---|
| Surface staining, panel firm | Often a past leak, potentially cosmetic | Keep if attachment and panel integrity are sound; fix the leak source first |
| Swollen or soft panel edges | Moisture has weakened fastener hold | Replace the affected panels |
| Delamination or crushed nail holes | Loss of structural capacity | Replace the panel and re-nail to pattern |
| Nail heads pulling through the surface | Reduced head-bearing capacity, not necessarily shank withdrawal resistance | Replace the damaged panel and fasten per schedule |
| Recurring damp under the deck | Ongoing leak, condensation, or poor ventilation | Correct the source before sheathing repair |
| Sagging deck or soft spots underfoot | Possible structural or water damage | Get a professional structural assessment |
Leaks are not the only source of moisture. Indoor air leaking into the attic, condensation, and poor ventilation can repeatedly wet the underside of the deck.
Correct the moisture source before closing the roof. Fresh nails cannot restore separated plies, reverse decay, or make crushed material sound again. When the panel cannot hold the nail head or shank, replacing it restores the connection between the sheathing and framing.
Lay Out Panels Before Driving Any Nails
Good layout gives every fastener a target. Without it, a crew can produce straight-looking nail rows that run beside the framing instead of into it.
Set up safe access, fall protection, and material handling before positioning panels. Don't step onto questionable sheathing to find out whether it'll hold.
Prepare the framing and panel joints
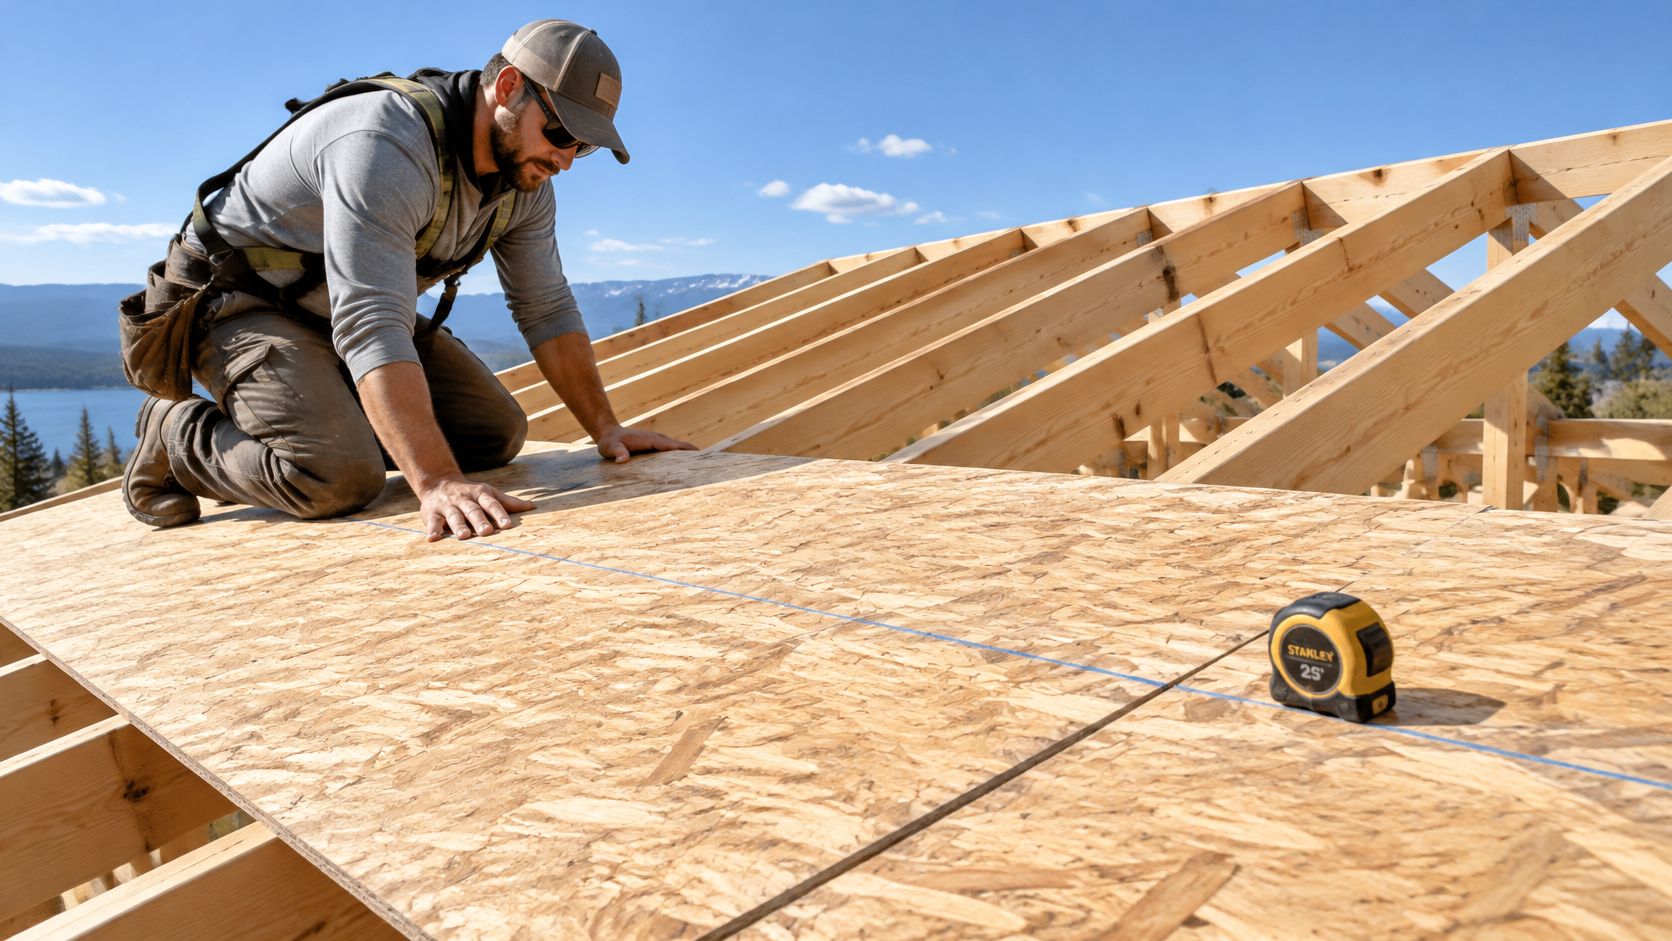
Check the framing first. Confirm that rafters or trusses are sound, aligned, and ready to receive the deck. A bowed or damaged member can leave a panel rocking or sitting above its neighbors; fastening harder isn't the repair.
Snap chalk lines over every framing member as panels are positioned. Transfer actual framing locations rather than assuming the spacing stays uniform across an older roof.
Establish the eave row. Mark a straight starting line and orient the panel's strength axis across the framing, following its grade stamp and installation instructions. Stagger end joints between adjacent courses so they don't form a continuous joint line.
Provide blocking wherever the fastening schedule requires a supported edge that would otherwise fall between framing members. Approved panel-edge clips may provide specified edge support, but they don't create a nailing surface where the design calls for blocking.
Leave the specified joint gap. APA's panel-spacing guidance recommends a 1/8-inch gap at panel edges and ends and identifies a 10d box nail as a practical spacer. That recommendation helps accommodate dimensional changes and reduce buckling; product instructions and governing code still control.
Check fit before committing
Lay a straightedge across neighboring panels and look for raised edges, rocking sheets, or a dip over a framing member. Correct the cause before fastening the panel permanently, and set aside sheets with swelling, cracks, or delamination.
Don't pull a badly fitted panel into place with the nail gun. Correct its bearing, alignment, or cut first.
Plan penetrations and transitions while the deck is exposed. Understanding what goes under roof shingles helps distinguish structural preparation from the underlayment and flashing work that follows.
Keep sawdust and scraps off bearing surfaces. Even a small obstruction can prevent a sheet from seating tightly against the framing.
How to Drive Each Nail Correctly
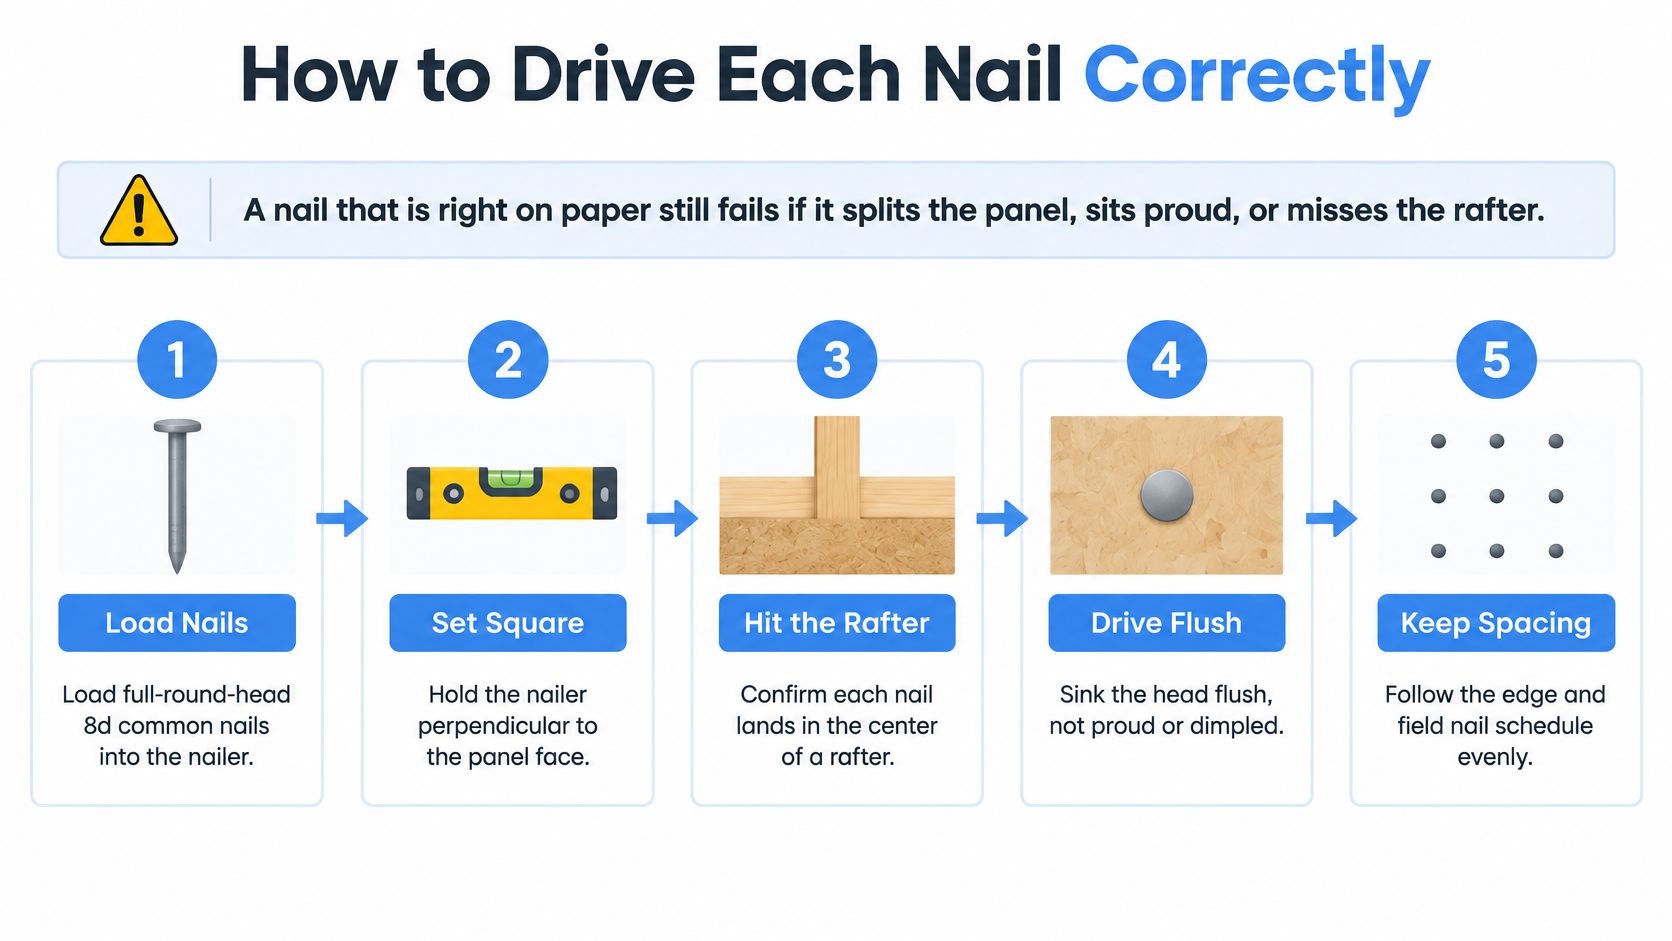
A nail that's right on paper can still fail if it splits the panel, sits proud, or misses the rafter. The objective is a seated panel with consistent fastening, not merely an empty nail magazine.
APA's roof-sheathing installation guidance specifies a minimum 8d common nail measuring 0.131 inch by 2-1/2 inches, with fasteners no more than 6 inches on center at supported ends and edges and 12 inches at intermediate supports. It also specifies positioning nails 3/8 inch from panel ends and edges; those dimensions establish the baseline used in the procedure below.
Set the fastener and driving depth
Load the approved sheathing fastener. Use full-round-head common nails matching the specified dimensions, or an explicitly approved equivalent. Don't substitute short shingle nails or assume every collated framing nail meets the schedule.
Start near the center of the panel and work outward while keeping it aligned and seated against the framing. This helps avoid trapping a bow as the perimeter is secured.
Maintain the specified edge setback. Keep the nail line far enough from panel ends and edges to avoid breaking out the perimeter. At a shared joint, verify that both panels have adequate framing beneath their individual fastening lines.
Follow the supported-edge spacing in the approved schedule. Mark the intervals when training a new installer rather than relying on the rhythm of the nailer.
Fasten every intermediate framing line. Follow the field spacing, including any tighter wind-upgrade requirement. A skipped support leaves part of the panel unattached even when the perimeter looks complete.
Keep the head bearing on sound material
Hold the nailer perpendicular to the panel face and drive straight into the framing. Finish with the head flush, not buried: overdriving crushes the surface and reduces the material available to bear against the head.
Test the nailer on scrap over comparable framing. Check depth at the start of a shift and whenever the nailer, hose arrangement, or air supply changes. Adjust the tool's depth setting and operating pressure within its manufacturer's limits rather than accepting scattered deep shots.
Check the panel for a balanced pattern with no skipped framing lines or crowded edge clusters. Complete the sheet, then continue along the row while maintaining the planned joint stagger.
Choose the fastener coating for the corrosion exposure and any product or code requirements. Shank shape affects withdrawal resistance, while corrosion protection helps preserve the fastener itself; neither feature substitutes for the other.
Hand-nailing can offer better control during small repairs, while a pneumatic framing nailer speeds production. Either method requires checking the finished connection.
Before moving on, look across the surface for proud heads and dimples. Stop and adjust when depth becomes inconsistent instead of leaving a trail of defects for someone else to repair.
Inspect and Fix Nailing Before Shingles Go On
Once underlayment and shingles cover the deck, you can't inspect the fastening pattern directly. This is the point to slow down, because correcting exposed sheathing is simpler than reopening a finished roof.
FEMA's roof-system retrofit guidance emphasizes missed framing, edge placement, driving depth, and appropriate fastener selection as quality-control concerns. Inspect the connections themselves, not just whether the roof looks tidy from the ladder.
Nailing symptoms, causes and fixes
| Symptom | Likely cause | Fix |
|---|---|---|
| Nail heads sunk below the surface | Pneumatic pressure or depth setting too aggressive | Reset depth and add replacement fasteners nearby in sound wood, maintaining required clearances |
| Panel edge split near a nail | Nail placed too close to the edge | Replace the structurally split panel and re-drive nails at the specified setback |
| Nails pull loose or miss framing | Unmarked layout, shifted panel, or damaged wood | Locate the framing edge and add correctly positioned nails within the schedule |
| Smooth-shank nails where enhanced withdrawal resistance is required | Fastener chosen without checking the wind schedule | Use approved ring-shank or deformed-shank fasteners |
| Staples in a high-wind area | Inappropriate fastening system | Replace with approved full-round-head nails or approved screws |
| Roof-to-wall connection held by toe-nails only | Toe-nails treated as an adequate designed uplift connection | Have designed uplift connectors installed |
| Edge nails spaced 8 inches or wider | Pattern skipped or wrong schedule used | Re-nail to the applicable edge schedule, commonly 6 inches on center or tighter |
Smooth-shank common nails aren't automatically defective; they remain acceptable where the governing schedule permits them. The correction applies when the job requires greater withdrawal resistance.
Likewise, don't blindly place a replacement nail beside every damaged hole. Confirm sound material, required edge distance, and adequate framing width first. If the panel edge has broken apart, replace the panel rather than crowding more nails into it.
Run the pre-covering inspection
Inspect from the eave upward. Follow each panel boundary and framing line so skipped sections are easier to spot. Work only from safe, supported positions with appropriate fall protection.
Probe questionable fasteners and investigate loose or misplaced heads. Where accessible, check underneath for nails that passed beside the framing; a nail protruding through the panel alone isn't a framing connection.
Remove damaged panels. Replace split, swollen, or delaminated material that can't provide a reliable connection. Check the exposed framing before installing the replacement.
Photograph representative edges, joints, and ridge areas with a tape measure visible. Take wider photographs too, so close-ups can be located on the roof.
Arrange required inspection before covering. Keep the approved fastening schedule and product information available for the inspector. Don't assume photographs replace an inspection the jurisdiction requires.
A clean surface isn't proof of a complete load path. Deck fasteners and roof-to-wall connectors perform different jobs.
A proud sheathing fastener also deserves attention before it damages overlying materials. The discussion of roof nail pops and their causes can help homeowners recognize why hammering down a visible bump may leave the underlying problem unresolved.
Stop work and call a licensed roofer when the deck sags, moisture keeps returning, storm or hail damage needs assessment, or damaged framing appears beneath the sheathing. Get professional help interpreting high-wind fastening requirements rather than improvising a tighter pattern.
Ask for the diagnosis and proposed correction in writing. That makes it easier to distinguish a limited fastening repair from panel replacement or structural work.
Code and Manufacturer Rules That Override the Table
A baseline table isn't permission to ignore the approved plans. The governing fastening requirement comes from the combination of adopted code, local amendments, roof design, product instructions, and applicable wind provisions.
For designated high-wind conditions, the 2024 IRC provisions reproduced by UpCodes' fastener requirements call for 4-inch nail spacing near roof edges, ridges, and gable ends when specified wind-speed thresholds are exceeded. Don't apply that edge-zone rule indiscriminately to the entire roof or assume it establishes the field schedule.
Confirm the controlling documents
Building department: Confirm the locally adopted IRC edition and amendments, then ask whether the work requires a permit and an exposed-deck inspection. A locally adopted edition may differ from the current model-code text.
Approved design: Check engineered fastening schedules and wind-load calculations. Unusual geometry, exposure, framing, or structural alterations may require an engineer's review and sign-off.
Panel and roof-covering manufacturers: Obtain the sheathing installation sheet and the shingle manufacturer's deck requirements. Check panel support, permissible fasteners, substrate condition, and corrosion protection rather than relying on a generic installation diagram.
Fastener specifications: Verify the actual product approval and dimensions. Where the ring-shank specification calls for ASTM F1667 RSRS-01, match that designation rather than accepting any nail marketed as ring-shank.
Wind-upgrade guidance: FEMA's sloped-roof mitigation guidance recommends full-round-head deformed-shank nails, ring-shank nails, or screws for improved connections and states that staples shouldn't be used in high-wind areas.
If documents appear to conflict, resolve the discrepancy with the building official, manufacturer, or design professional before fastening. Don't combine isolated details from different schedules into an unapproved hybrid.
The strictest applicable requirement controls.
HIBCO ROOF LLC offers roof inspections, leak repairs, storm-damage assessments, and full roof replacements for homeowners in Columbus and central Ohio. If you're unsure whether your deck needs re-nailing, panel replacement, or further structural evaluation, visit HIBCO ROOF LLC to request a free inspection and written estimate before new roofing covers the problem.